
First things first, if you’re looking for perfection, then don't scroll down to look at my pictures, seriously, they are far from perfect. If you're looking for a fun snake cake you can make with a small child, then feel free to take a look at my photos.
My five year old and I had loads of fun making this cake, but more of that later.
My blog recipes are going to be displayed differently than many other blogs. The recipes I share will always be at the top of the page. Why? Because it drives me nuts when I have to trawl through reams of someone's life story to find a recipe, especially when I have limited time. Maybe you're like me, the less time you have, the harder it is to find the actual recipe, that's when I start panic scrolling.
The best recipe I've found for a cake that is firm enough to shape, but still moist, is from a book by Mary Ford called 'Party Cakes.' Don't be scared about making a Genoese sponge cake. It really isn't as difficult as many people say.
Genoese / Genoise Sponge
85g / 3oz / 3/8 cup Butter
85g / 3oz / 3/8 cup Margarine
170g / 6oz / 3/4 cup Caster sugar
3 Eggs, medium
Total batter weight = 680g / 24oz / 3 cups
This recipe makes a 10 inch / 25 cm round cake.
Method
Preheat the oven to 190c / 170c fan assisted / Gas 5
Using the tin base as a template, mark and then cut out a piece of baking paper. Grease the inside of the cake tin.
Put the baking paper into the bottom of the cake tin, and then grease it.
Mix, then beat the butter and margarine together in a mixing bowl until soft and light.
Beat in the caster sugar until the mixture is fluffy.
Break eggs into a separate bowl and mix together until just combined.
Beat in a small amount of eggs into the cake mixture, then gradually beat in the remaining eggs beating well.
Pour the flour onto the cake mixture, then gently fold in, being careful not to overmix. If you mix too much you risk losing the air introduced by beating the eggs into the batter. This could cause your cake to become dense.
Spoon cake mixture into your prepared tin and spread it evenly.
Place the tin in the middle of a pre-heated oven and cook for 20 minutes.
After 20 minutes open the oven door slowly and, if the sponge is a pale colour continue baking until it is golden brown.
Draw fingers across the top of the sponge (lightly pressing), and if this action leaves indentations, continue baking. Repeat the test every 2-3 minutes until the top of the sponge springs back when touched.
To be honest, I don't always test a Genoese cake in this way.
As I was in a hurry to get this done before my husband came home I used a cake tester to test whether the sponge was ready instead of doing the touch test, and it worked fine.
Take the cake out of the oven and leave to cool for 5 minutes.
Remove the sponge from the tin and place it upside down on baking paper covered in caster sugar.
Upturn the sponge and put it on a wire rack until cold.
If you don't want to use your Genoese sponge immediately double wrap it in cling film (plastic wrap) be sure that the cake is completely cold before doing this. Then wrap it in a layer of foil. If you have layers then wrap them separately in case they stick together as the cake thaws. Yes, I speak from experience.
The cake can then be frozen for up to 6 months.
To thaw your cake unwrap and put on a wire wrap at room temperature. It should thaw in about 2-3 hours.
Adaption - If you want to make a chocolate cake use all of the above ingredients, but replace 30g / 1 oz of flour with 30g / 1 oz of cocoa powder.
Buttercream
170g / 6 oz / 3/4 cup Icing Sugar
Warm water 2 tbsp
Method
Soften butter and beat in a bowl until light.
Gradually add the icing sugar, beating well after each addition.
Add the water (and colour and/or flavour if wanted).
Put the buttercream in the fridge for 30 minutes before decorating your cake. This really helps to make the spreading easier.
You can make your buttercream any colour you want. We were originally going to make a green snake. but I realised my son had used all of my green colouring making Halloween cupcakes.
If you are reading past this point then welcome to my world.
My five year old couldn't go to her dance class yesterday as she woke up feeling ill. I asked her if she would like to help me make a birthday cake for Dad. She cheered up immediately. I then went one step further and said "I know, lets make a snake cake." We've bought a reptile experience for my husbands birthday at a local wildlife zoo as he loves all reptiles, particularly snakes. It seemed like a good idea to cheer up a poorly, grumpy child.
Naturally, she was thrilled with the idea. I on the other hand was secretly kicking myself. I now had to not only come up with a way to make a snake cake, but make a cake, with a five year old helping, when I had a just last week been diagnosed with carpal tunnel syndrome and trigger finger. My genius plan of avoiding a five year olds meltdown had backfired on me big time.
I'm sure I had my Angel Mom helping me from the other side as I suddenly had an idea. I remembered a cake my Mom had made years ago for one of my brothers. Long before the days of fancy cake tins.
Apologies now for the lack of photo's, but preparing a cake with carpal tunnel syndrome, trigger finger and an enthusiastic five year old didn't give much time for class photography.
When your cake is cool cut out a small circle in the centre of your cake.
This was a kick myself moment when I realised I had forgotten to take a picture of this part.
After you've cut out the centre of the cake, cut the cake in half. You can then arrange the cake halves into a snake shape.
This is our finished cake. He looks shiny because I let my helper loose with some silver cake spray, he naturally got a good spraying.


Notice that I didn't do what the recipe suggested to line the cake tin. I realised I'd run out of baking paper, so I greased the tin and sprinkled flour all over it. It worked.

My Mom always taught me to put a little dip in the centre of the cake before baking.

This is the cut out circle from the centre of the cake. I shaped it into the head of the cake.
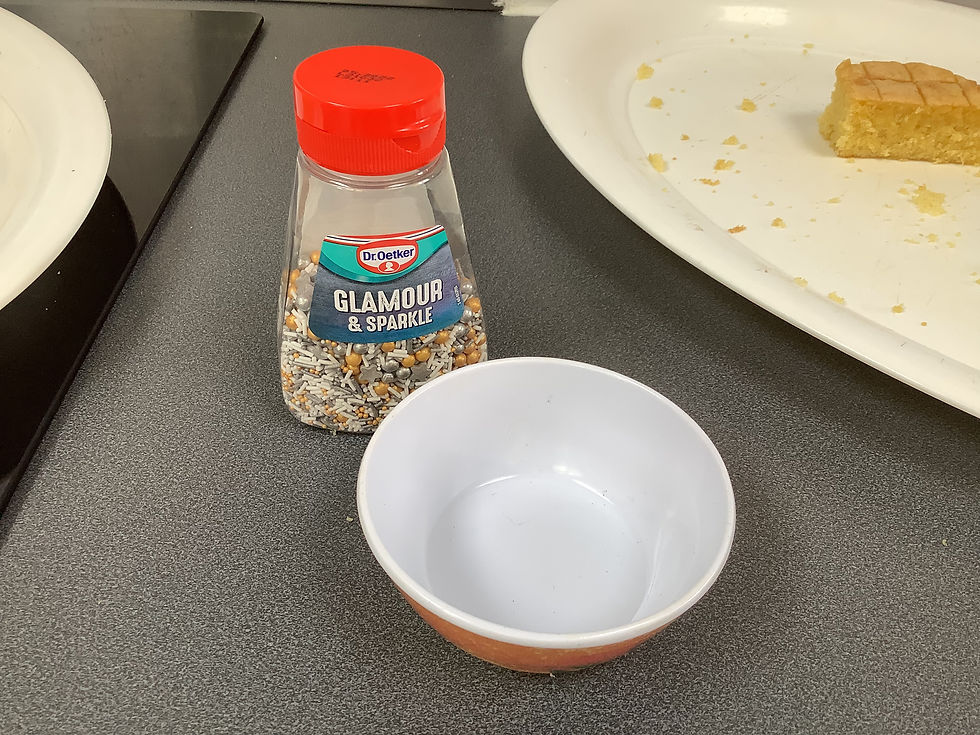
Here is the dish I used to make an indent in the cake so I had a mark to cut round. The sprinkles are there just for a size comparison.

Remember what I said about not being perfect? The one end of the cake is slightly bigger, but once we'd got the buttercream on it didn't make any difference.

I used some gel icing and squeezed lines on the cake in even sections. I forgot to take a picture of this part as my helper was getting impatient to decorate. Don't worry about the lines being straight, mine were a wiggly mess.
We then used whatever sprinkles we had in our cupboard. A selection is good to make the patterns on the snake.
For the snakes tongue we used thick strawberry laces.
Any questions about our snake cake just ask. Also, if anyone has any ideas or photos they would like to share I'd love to see them.
Happy baking.
Comments